Using Socialive Players, you can embed your sessions on your website or blog in a matter of minutes. Essentially, a Player is a snippet of code that you embed on your website that displays as a video. The embed code plays a Socialive session, allowing you to display the video without having to actually host anything on your website. You can create multiple players and embed them on different pages throughout your website. In Socialive Studio, you can select the Players you want to livestream.
In this article, we will go over the steps to:
Prerequisites
If you are interested in adding a Socialive Player to your plan, please reach out to your Customer Success Manager.
If you already have Players in your plan, you need to be an administrator to create a Player.
Creating a Socialive Player
- In Socialive, open the Settings menu (a) and click Players (b). You will see a list of players created in your Socialive account.

- Click New Player at the top right.
- On the next page, enter the Player Details.
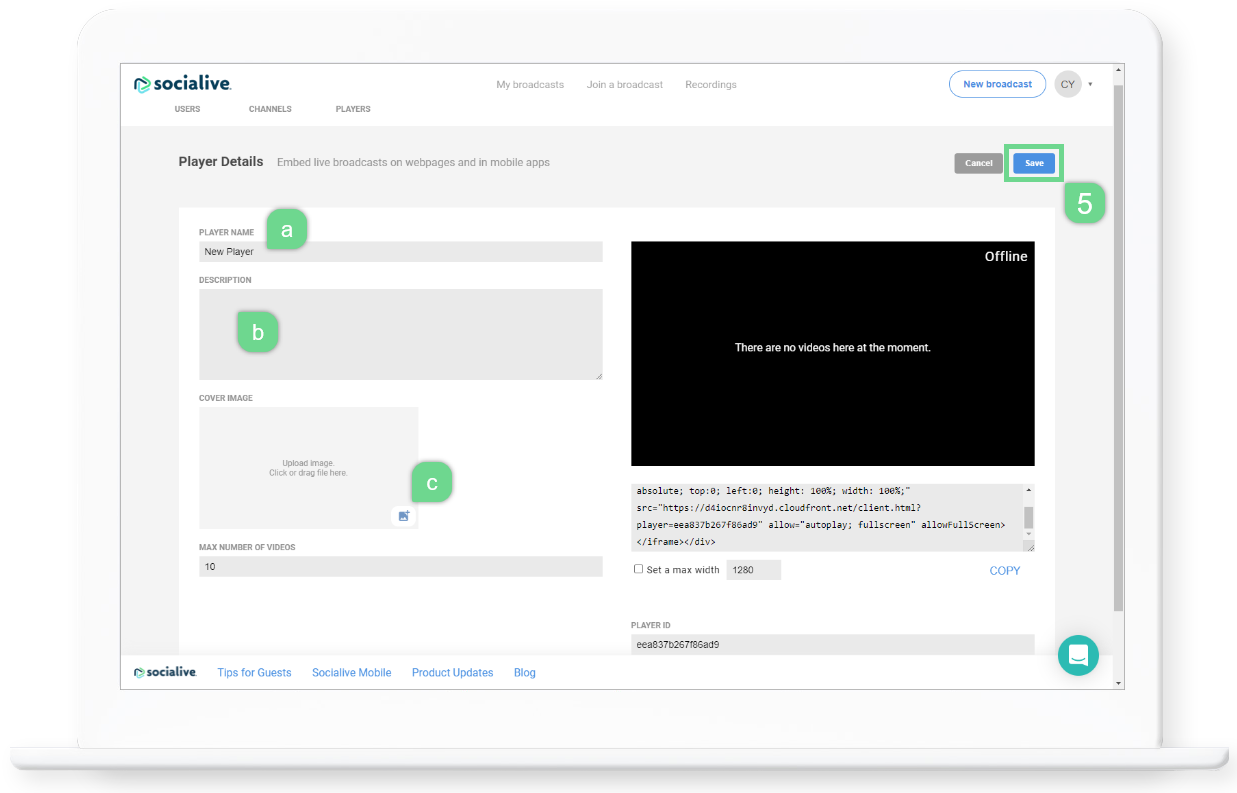
- Enter the Player Name.
- Enter the Description of your player.
- Upload a Cover Image for your Player.
- Click Save. Once you click save, you will be taken back to the page displaying all the Players created in your account, including the one you just created.
Embedding a Player on Your Website
Now that the player is created follow the steps below to embed the player into your website or app.
- From the Players page, click on the name of the player you created previously.

- On the right side of the Player Details page, you will find the embed code for your player.
- Click Copy under the code or highlight the text and copy it to your clipboard.
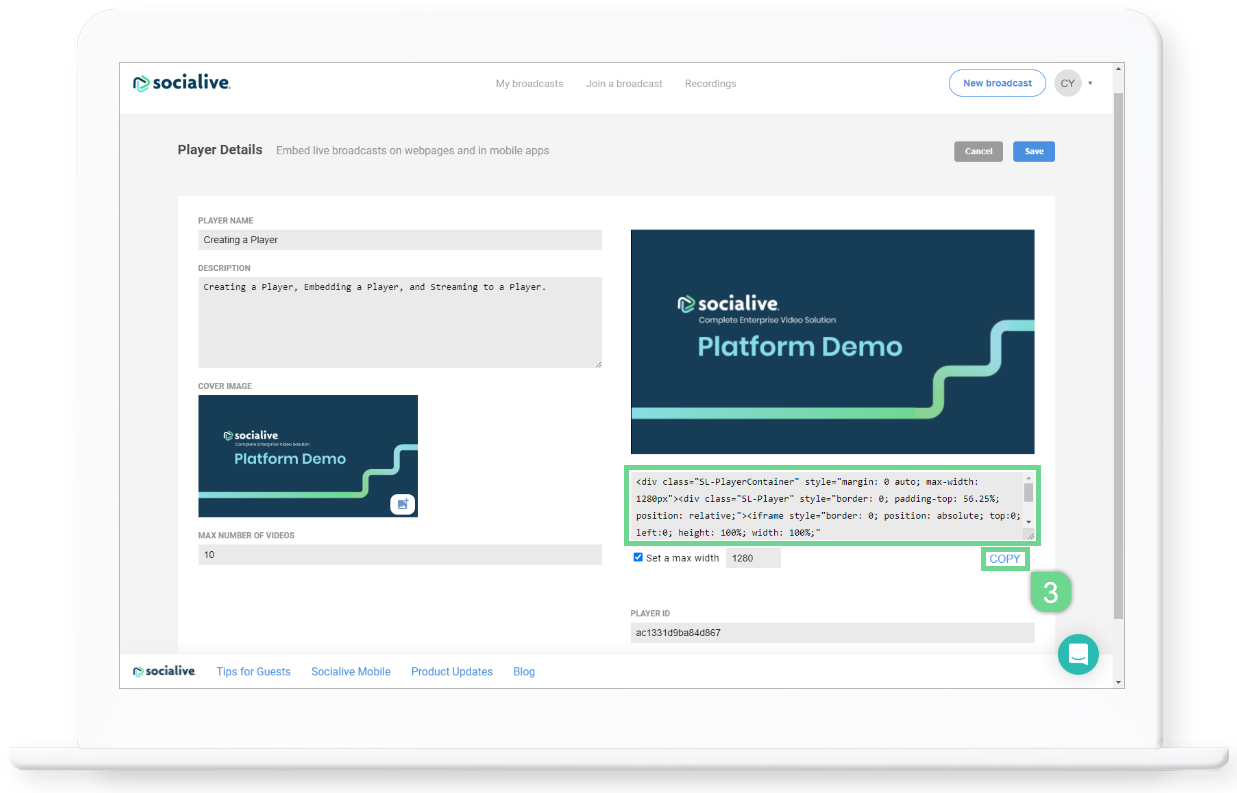
- Paste the code in the HTML file of the website and save or publish it to your webpage. The video should display inline where you placed the code.
Depending on where you are embedding your video and how your website is set up, you may need to alter the code. Please contact your webmaster for details.
Livestream to a Socialive Player
- From the Socialive Web Portal, navigate to My Sessions, and create a new session or enter an existing one to open Socialive Studio.

- On the right-side panel, under "Where do you want to livestream?", click the Socialive logo (first icon).
- In the pop-up window that appears:

- Toggle on the Socialive Player you created previously.
- Enter or change the Title.
- Enter the Description.
- Click Done.
When you start your session, it will automatically update your player(s) and auto-play the livestream.
There is typically 10-15 seconds of latency, or delay. This is the amount of time between something that happens in Studio and the display of that livestream on the viewer's screen.
- Once you finish, the video will be saved within that player's video playlist and is available for playback as video-on-demand (VOD) in the same player(s).
Still looking for an answer?
Contact Socialive Support via live chat, email at support@socialive.us, or submit a support ticket.